How to Take Real Estate Photography With a Cell Phone
Cell Phone Real Estate Photography
Real Estate Photography with a Cell Phone: The Power in Your Pocket
In the realm of real estate, captivating visuals play a pivotal role in attracting potential buyers. High-quality photographs showcase properties in their best light, providing a visual narrative that can make or break a sale. While professional cameras are often favored by photographers, the remarkable advancements in smartphone technology have made it possible to achieve stunning real estate photography using just your cell phone. In this blog, we will explore how harnessing the power of your pocket-sized device can help you capture impressive property images that leave a lasting impression.
Tips for Real Estate Photography with a Cell Phone
Convenience and Accessibility: One of the key advantages of using a cell phone for real estate photography is the convenience and accessibility it offers. Unlike carrying bulky camera equipment, your phone is always within reach, enabling you to capture those spontaneous, unique moments that truly showcase a property's character. With the ability to instantly review and edit your images, you can make on-the-spot adjustments to ensure you've captured the perfect shot.
High-Quality Camera Technology: Modern smartphones are equipped with advanced camera technology that rivals many traditional point-and-shoot cameras. With high-resolution sensors, multiple lenses, and sophisticated image processing capabilities, cell phones can capture sharp, vibrant images with impressive detail. The wide-angle and telephoto lenses allow you to showcase the property from various perspectives, capturing both wide shots and close-ups with ease.
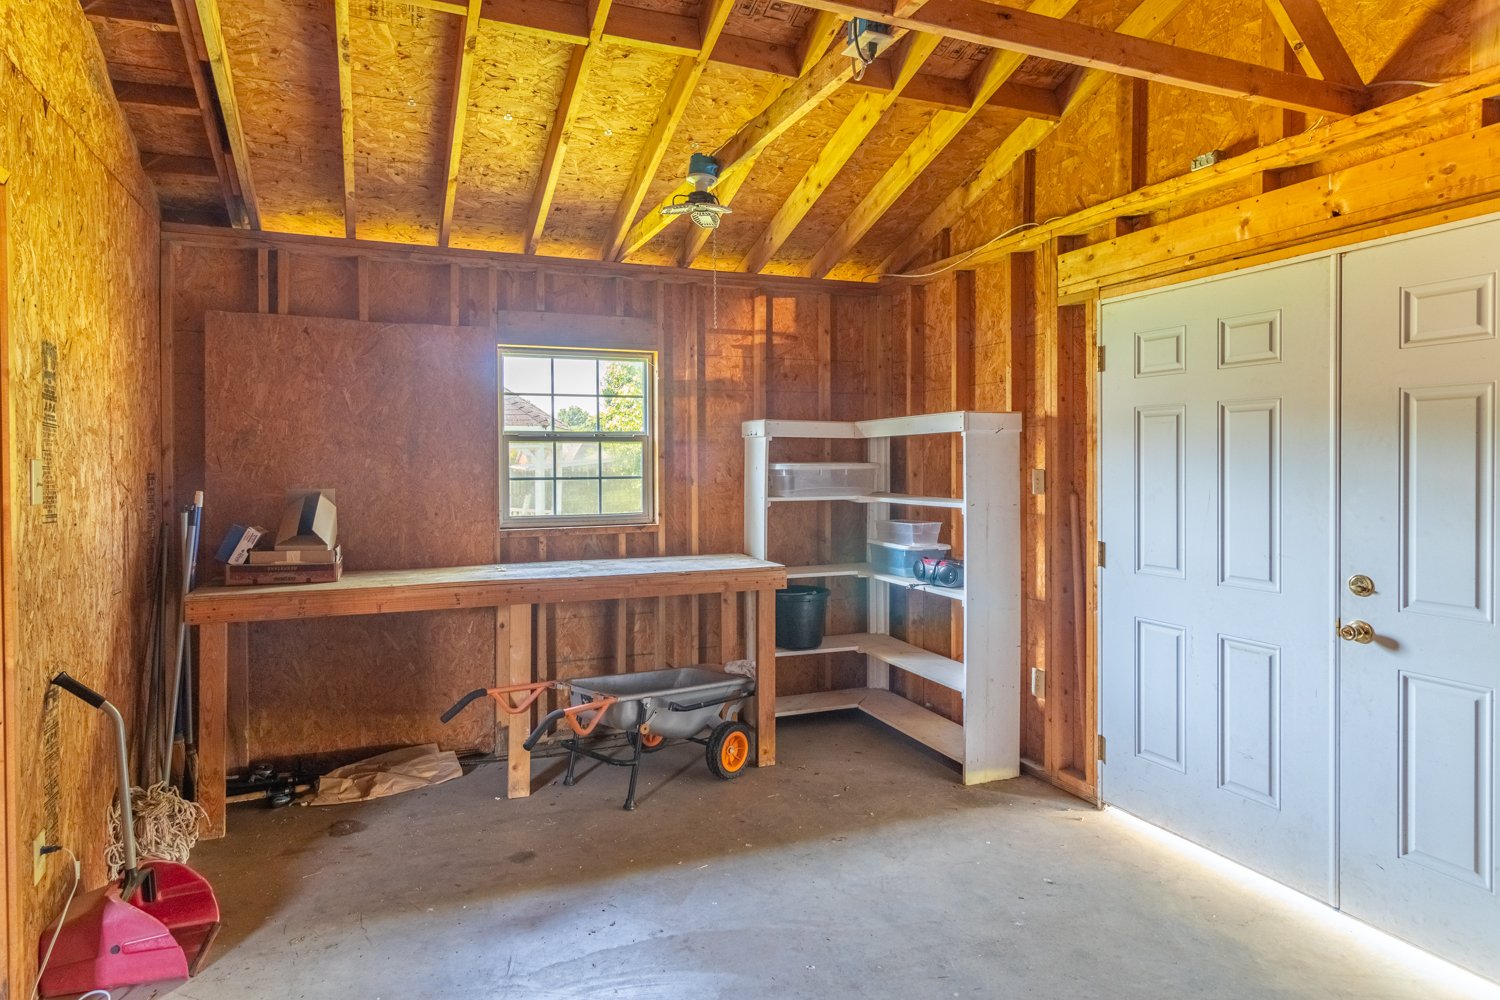
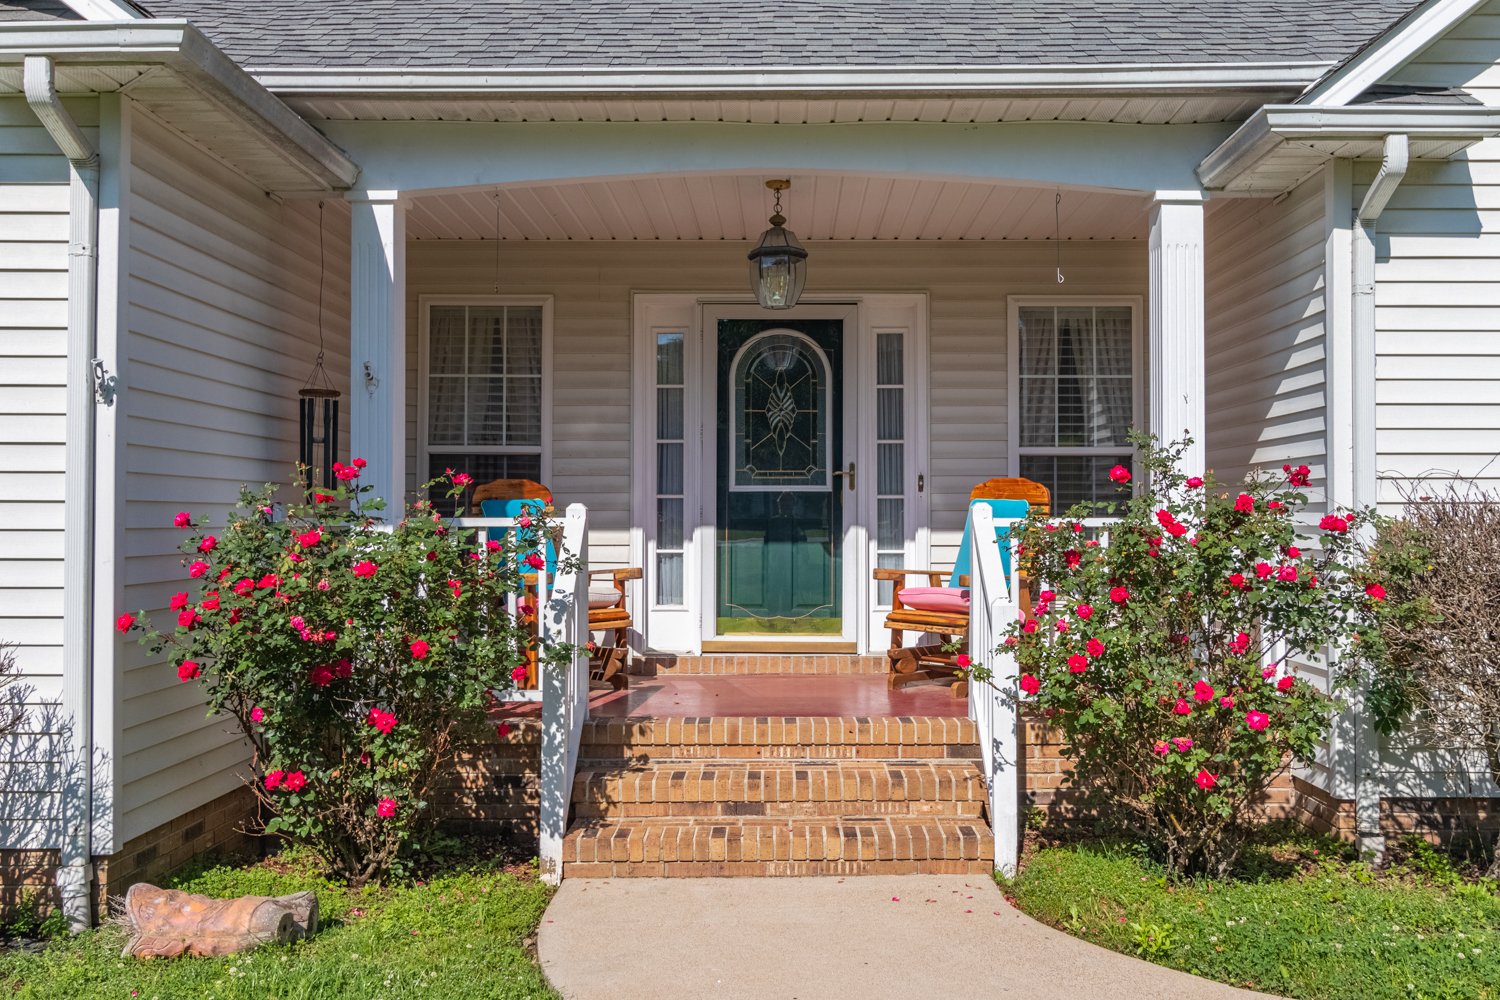
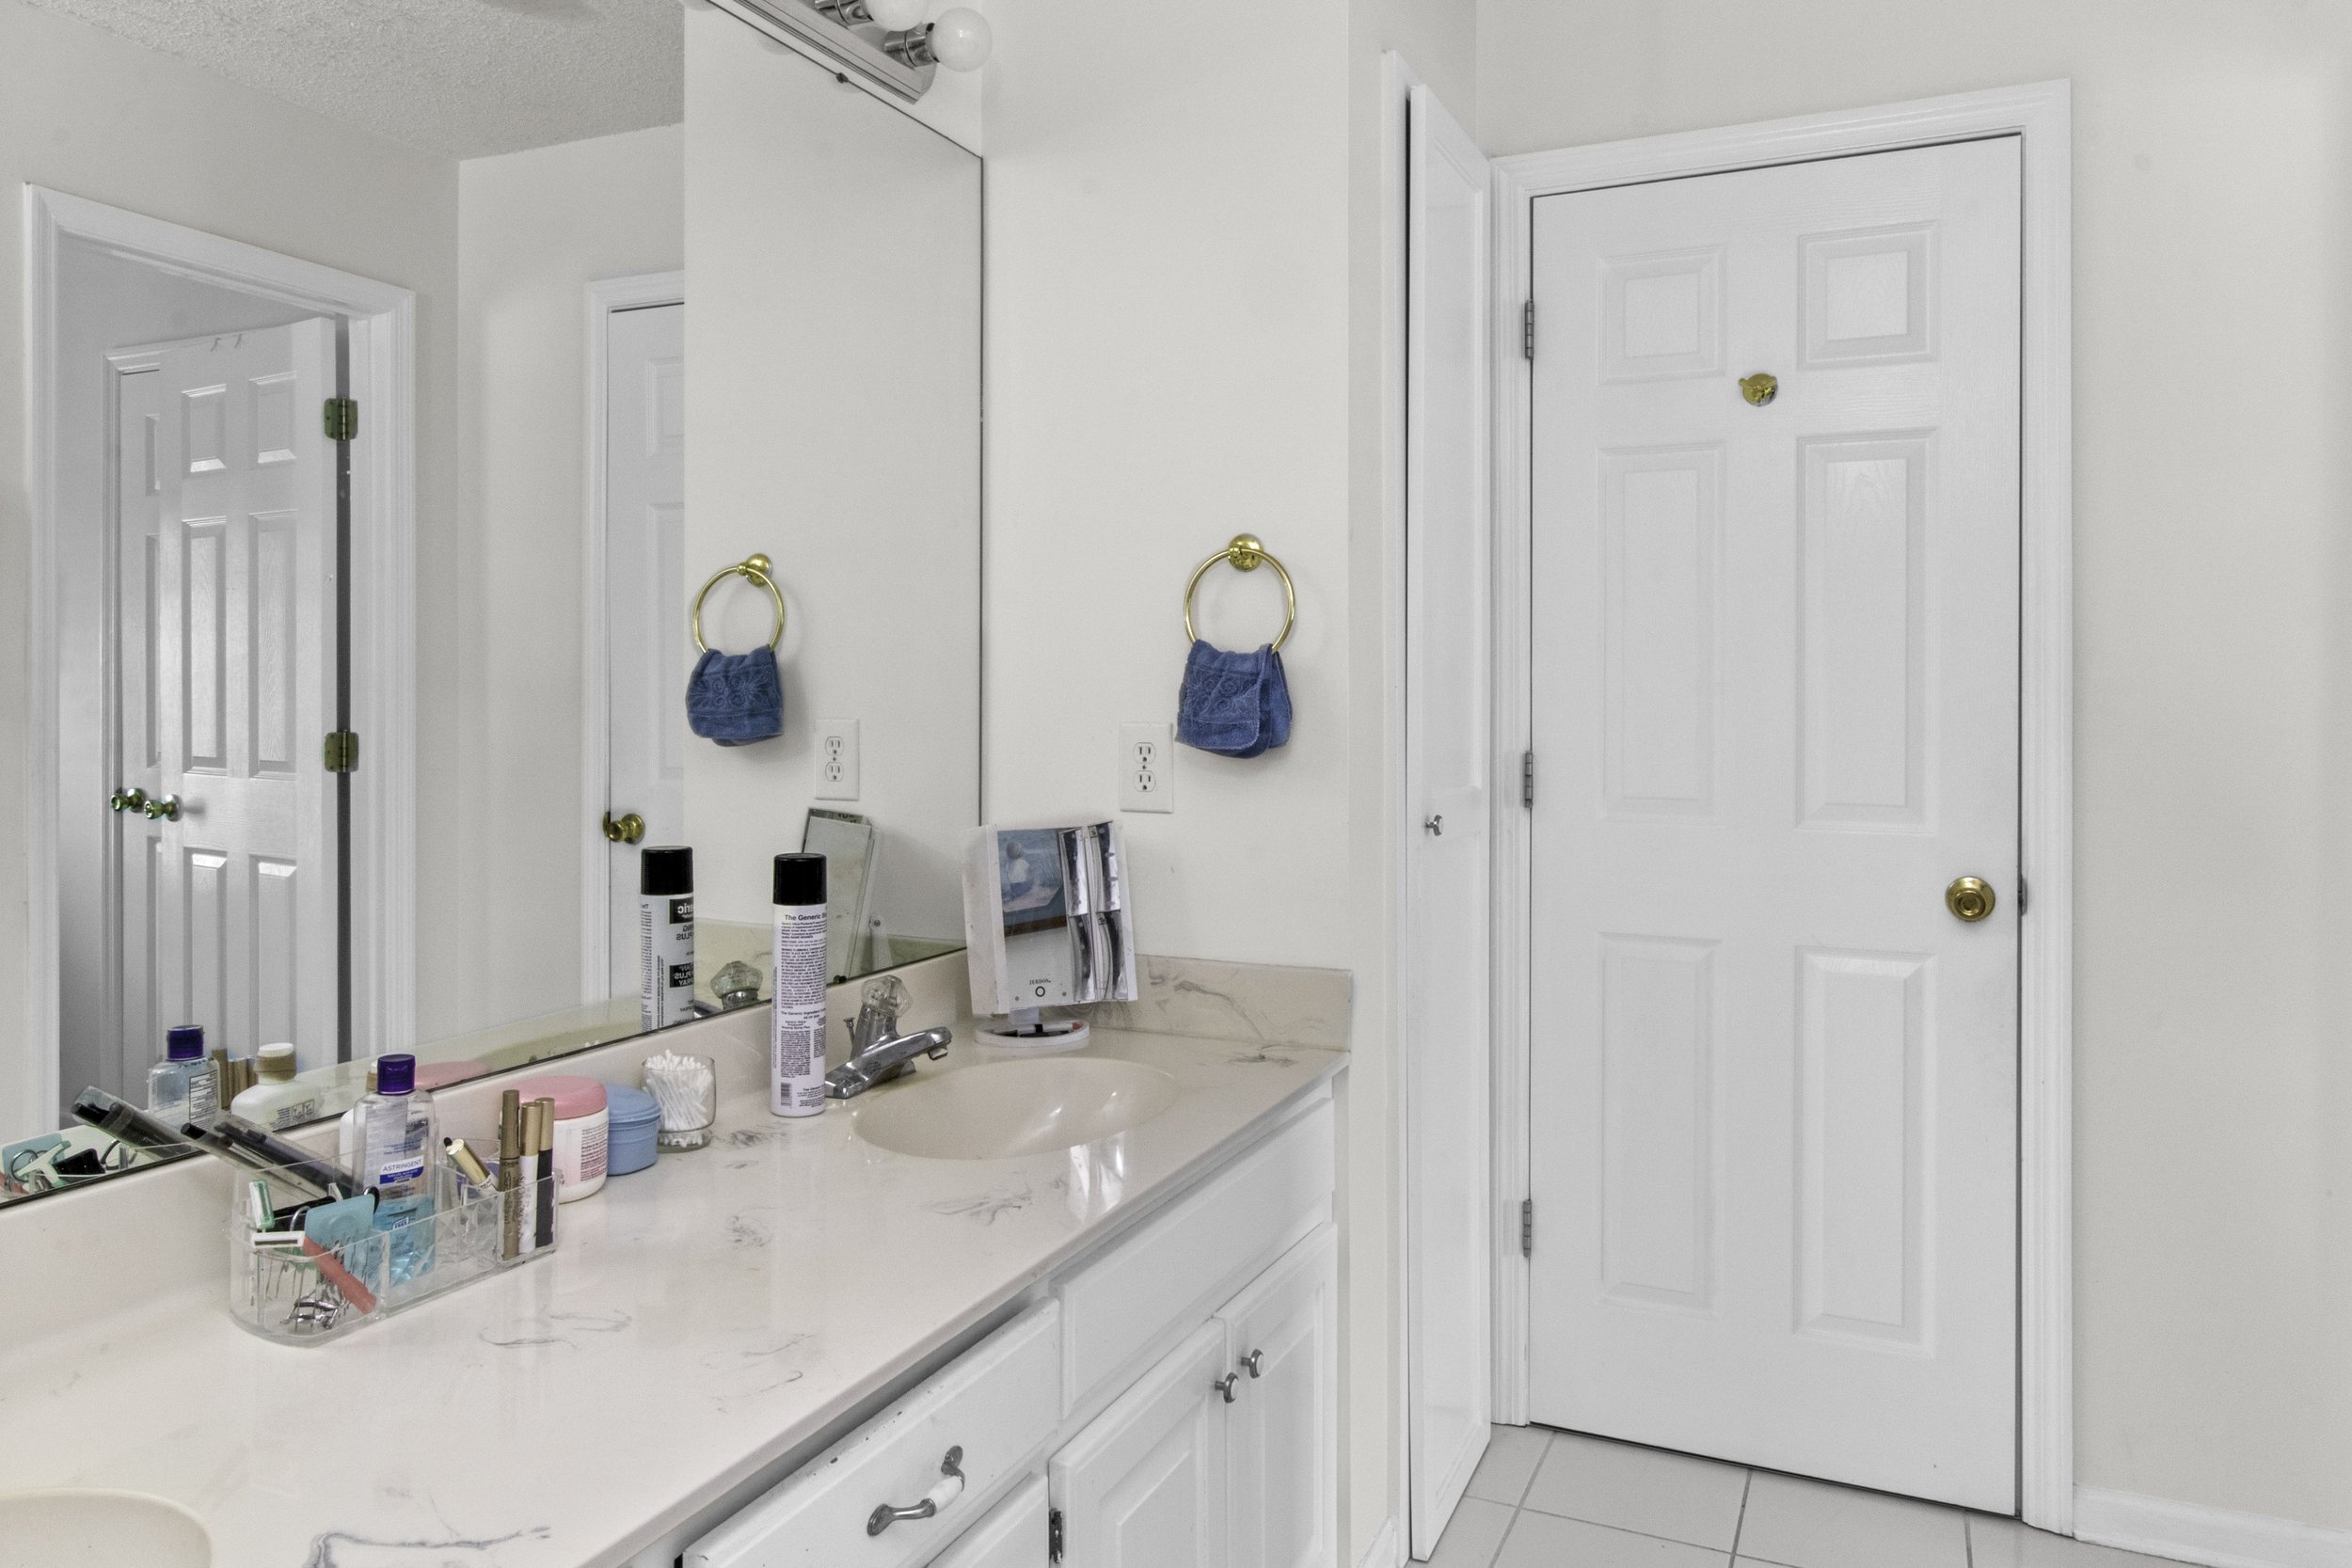
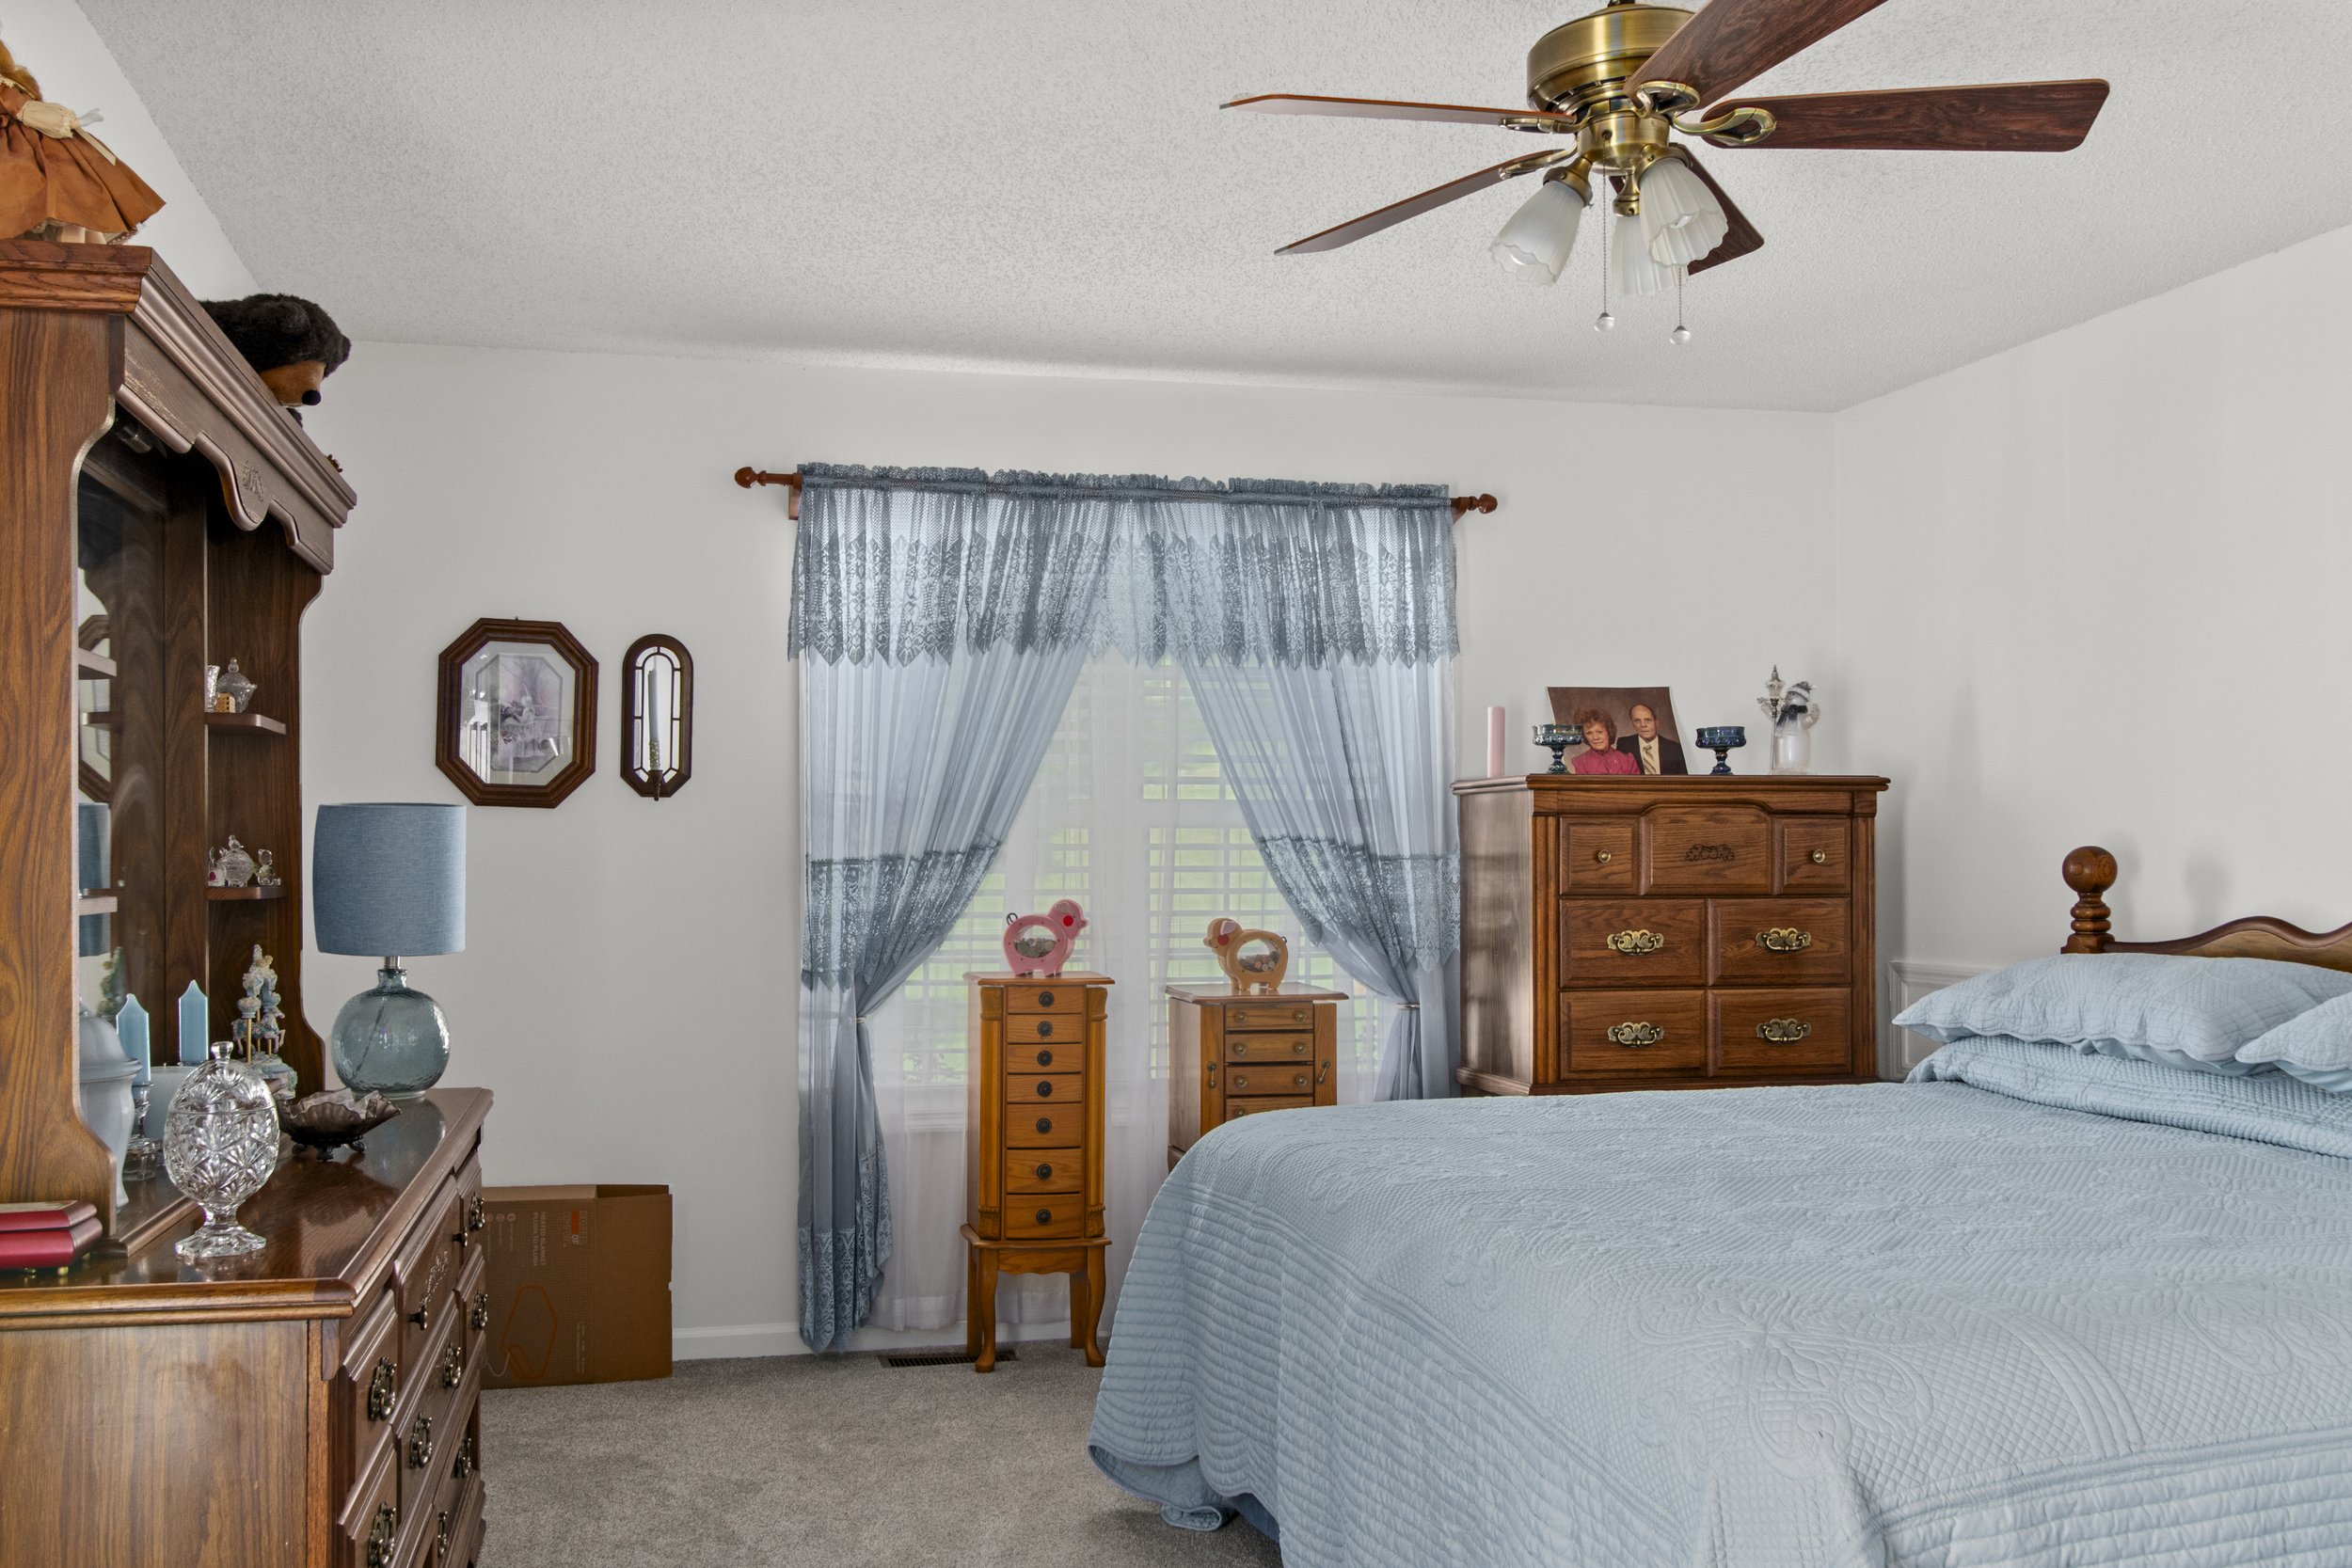
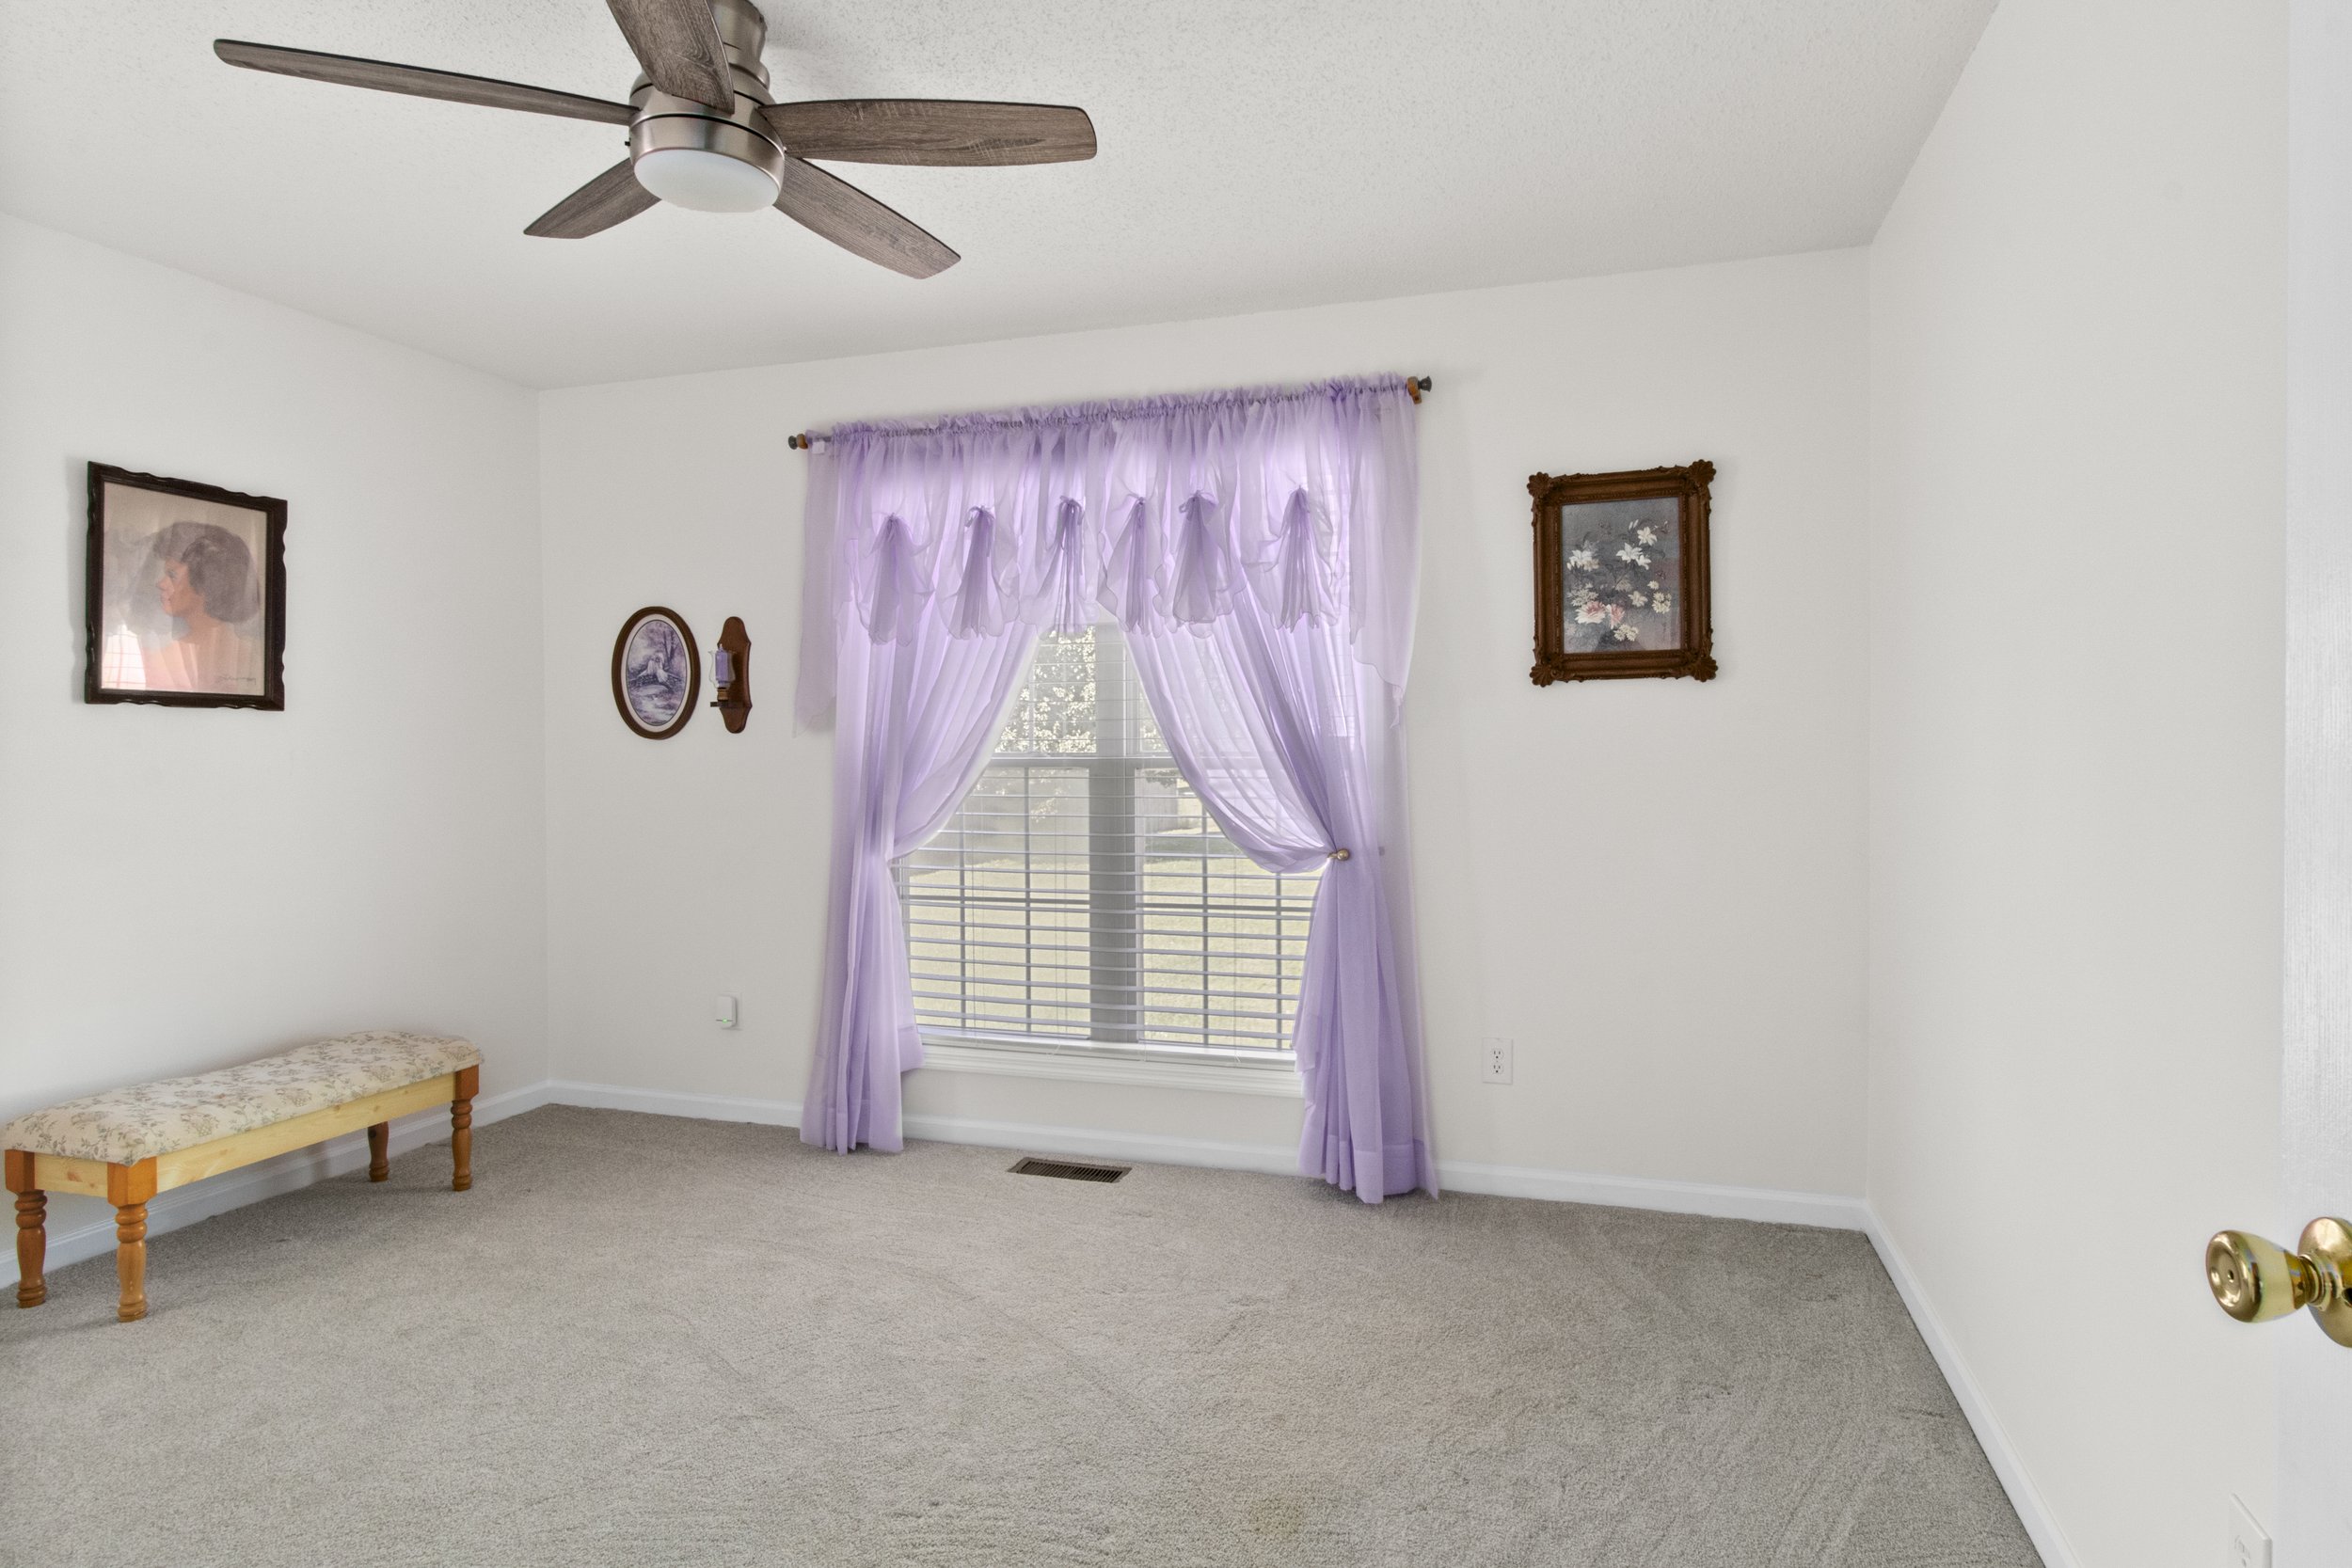
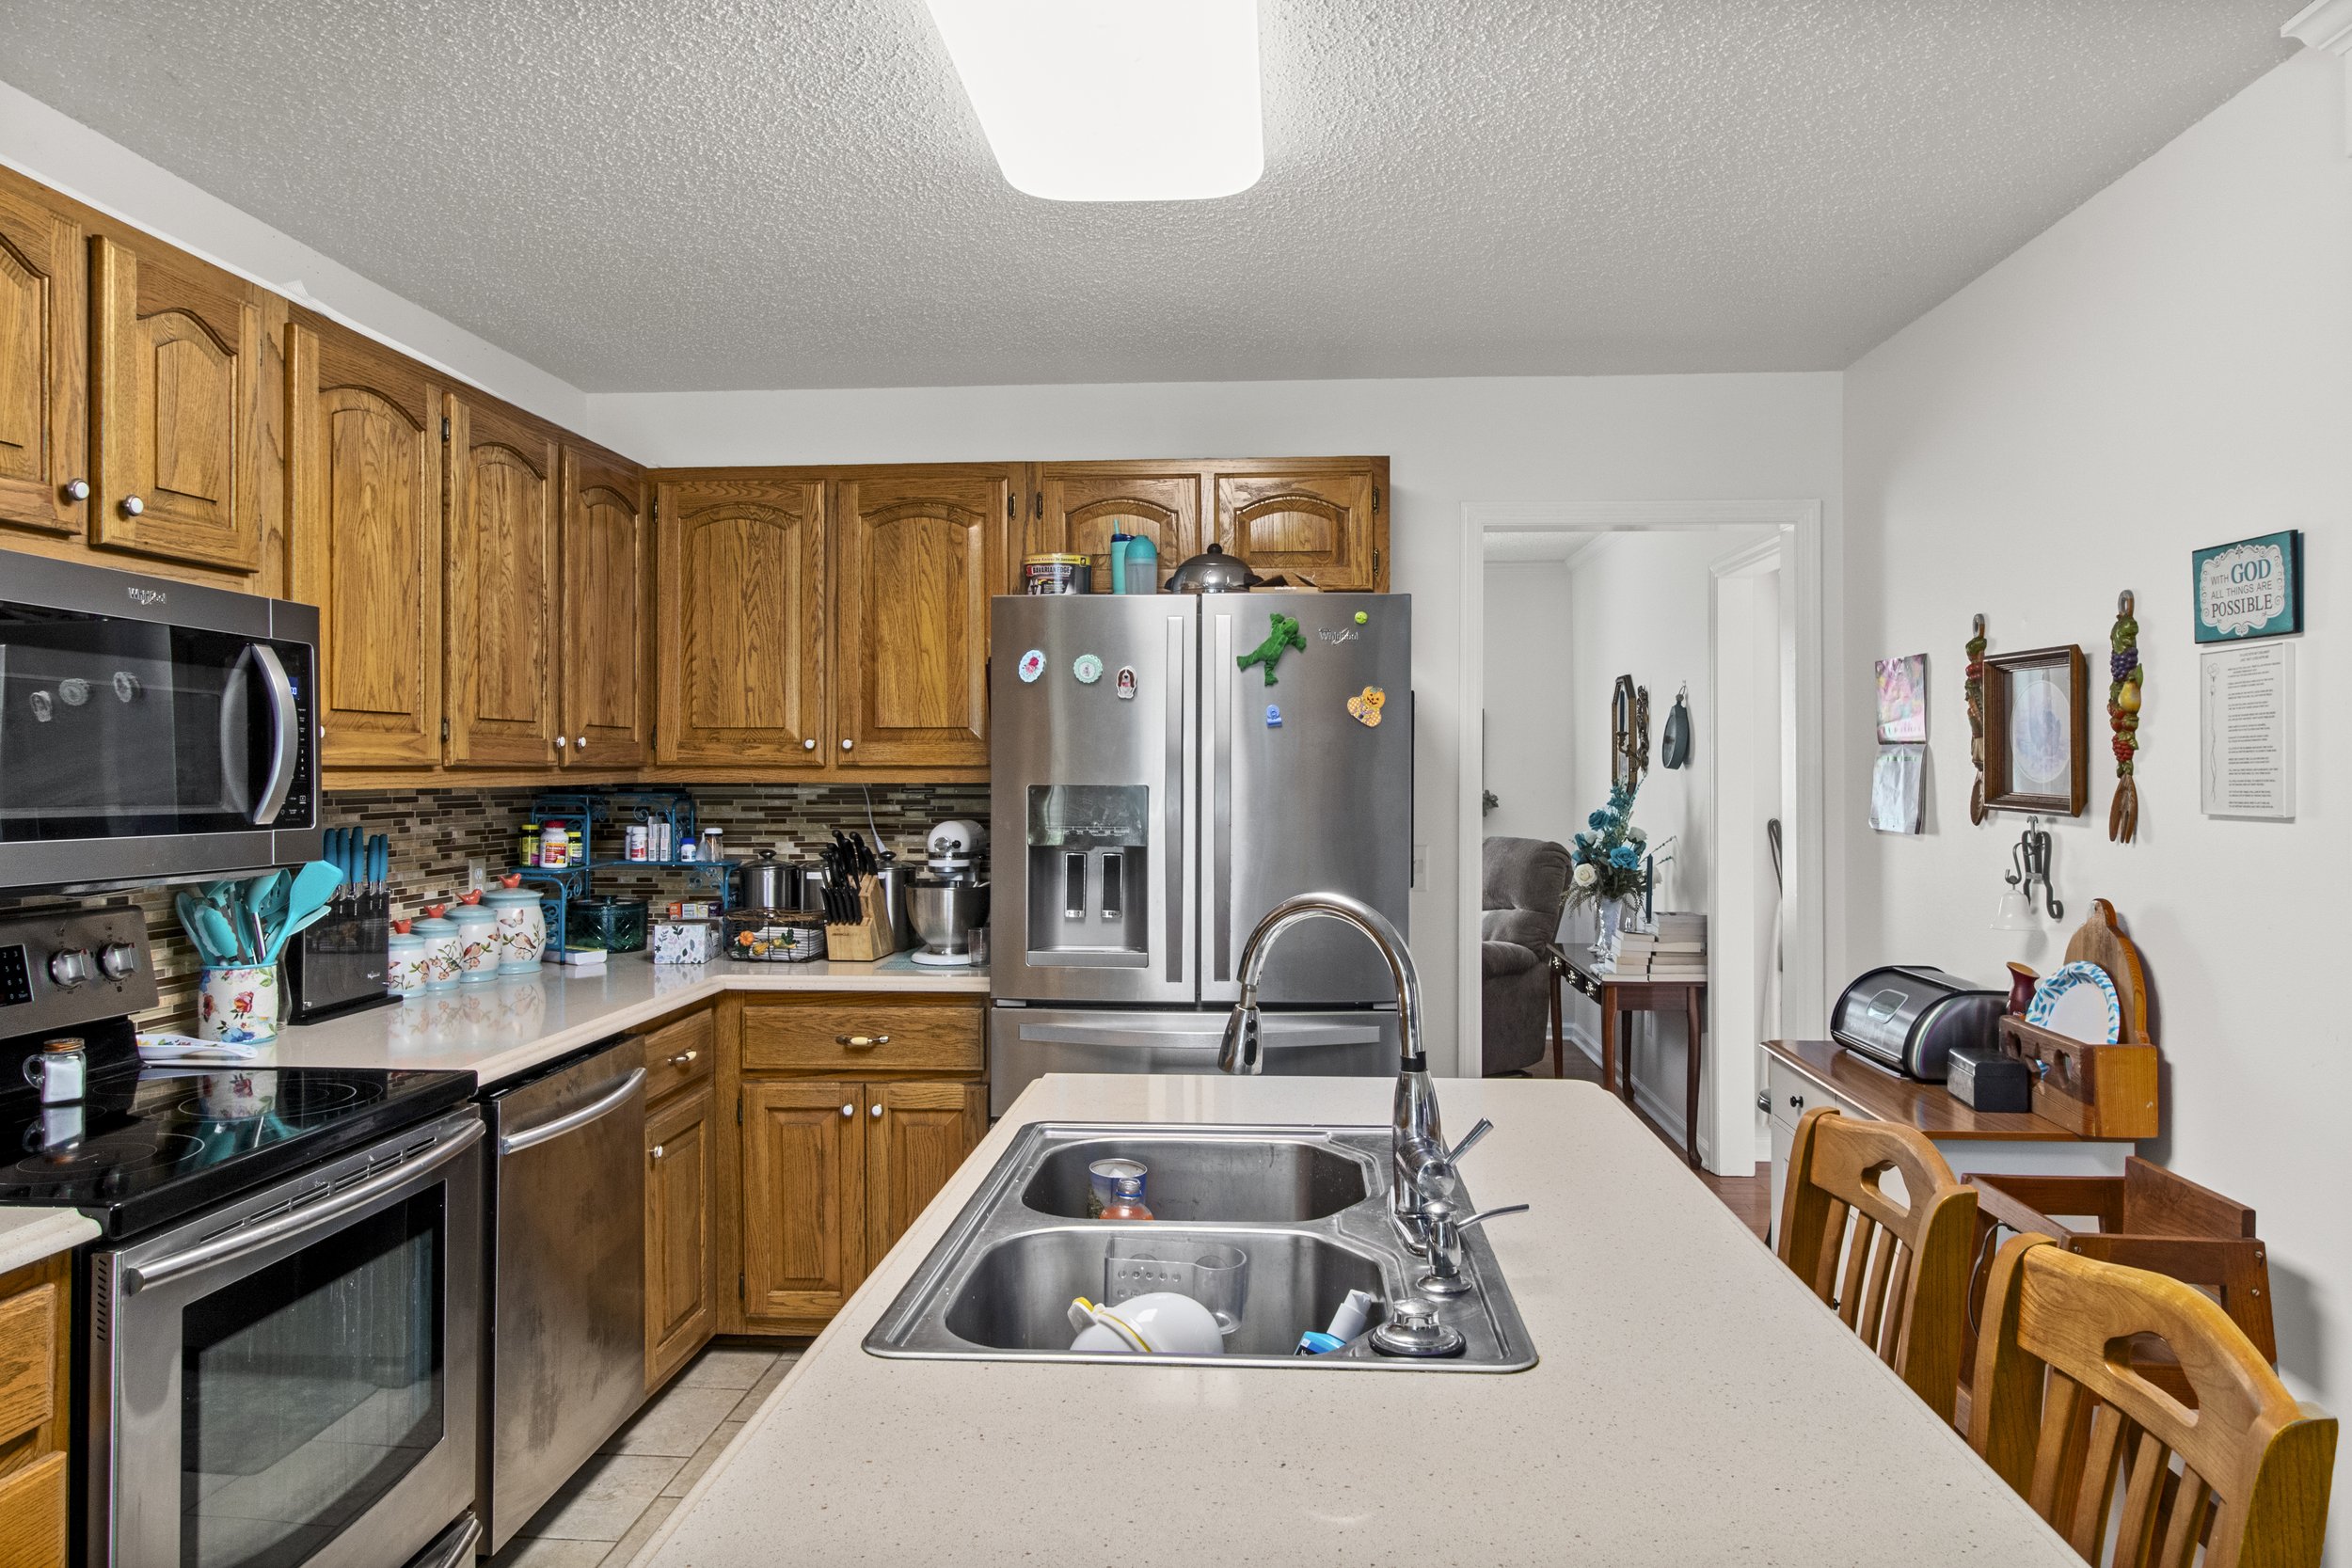
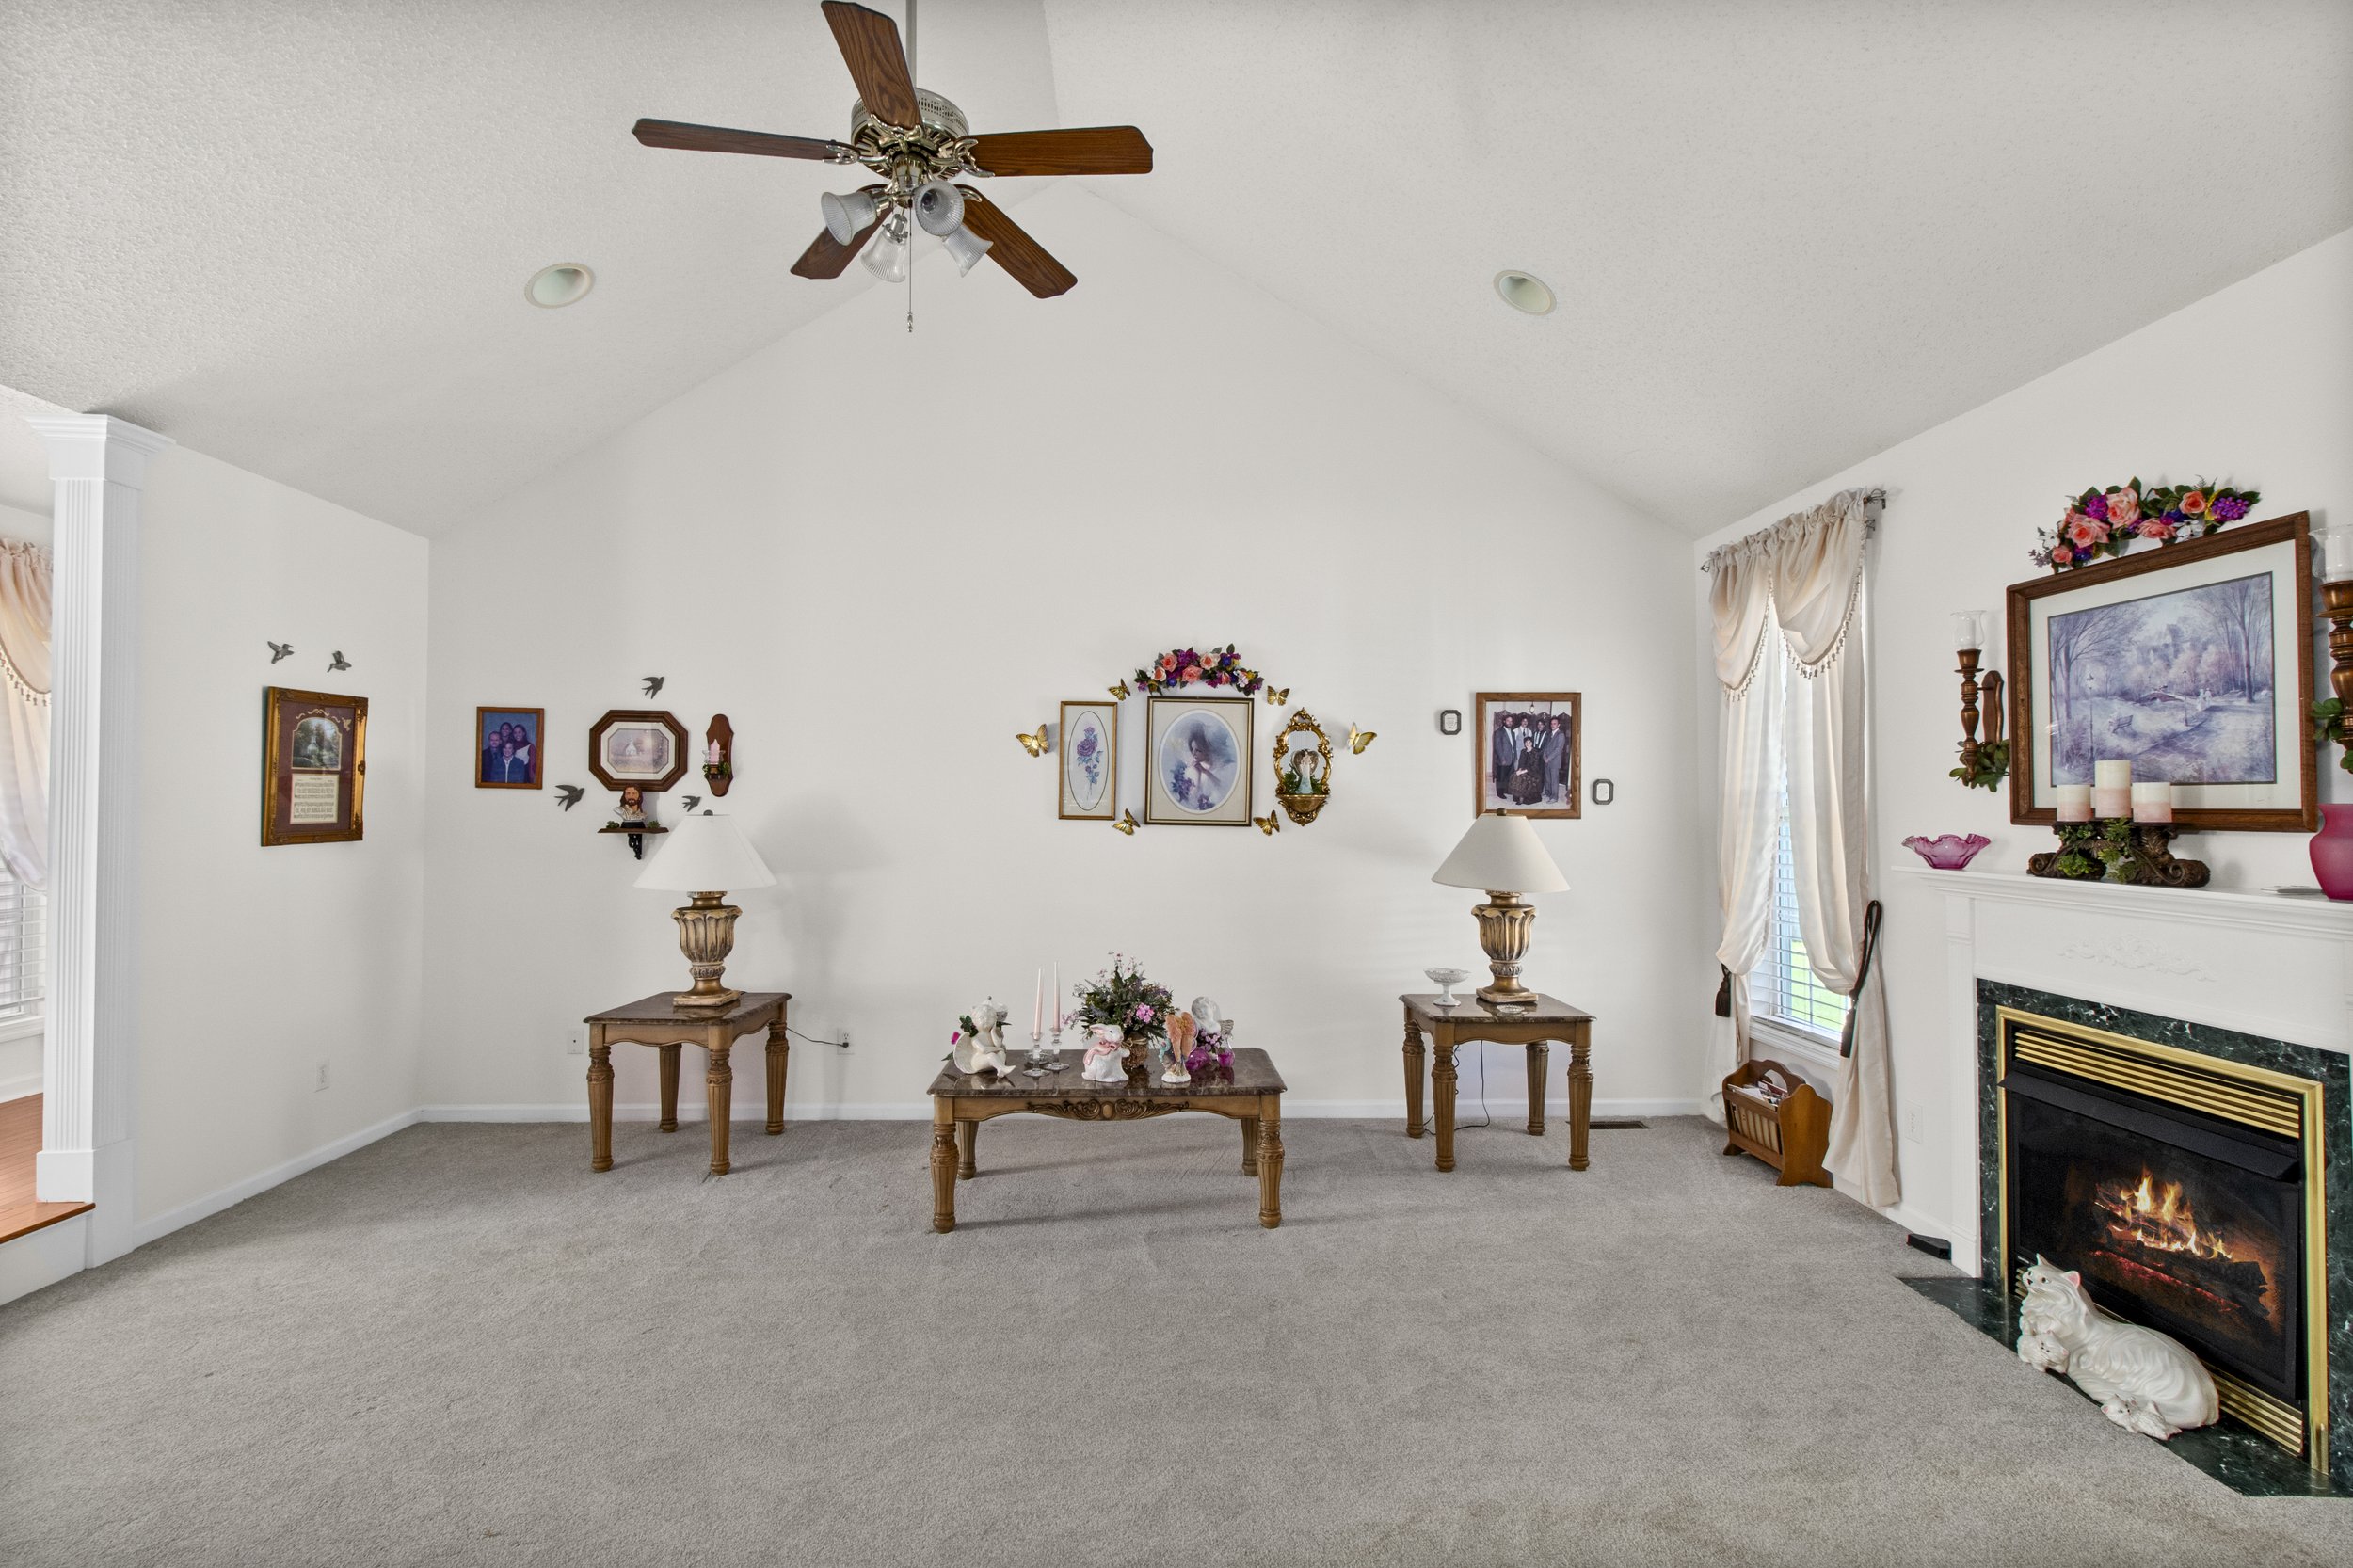
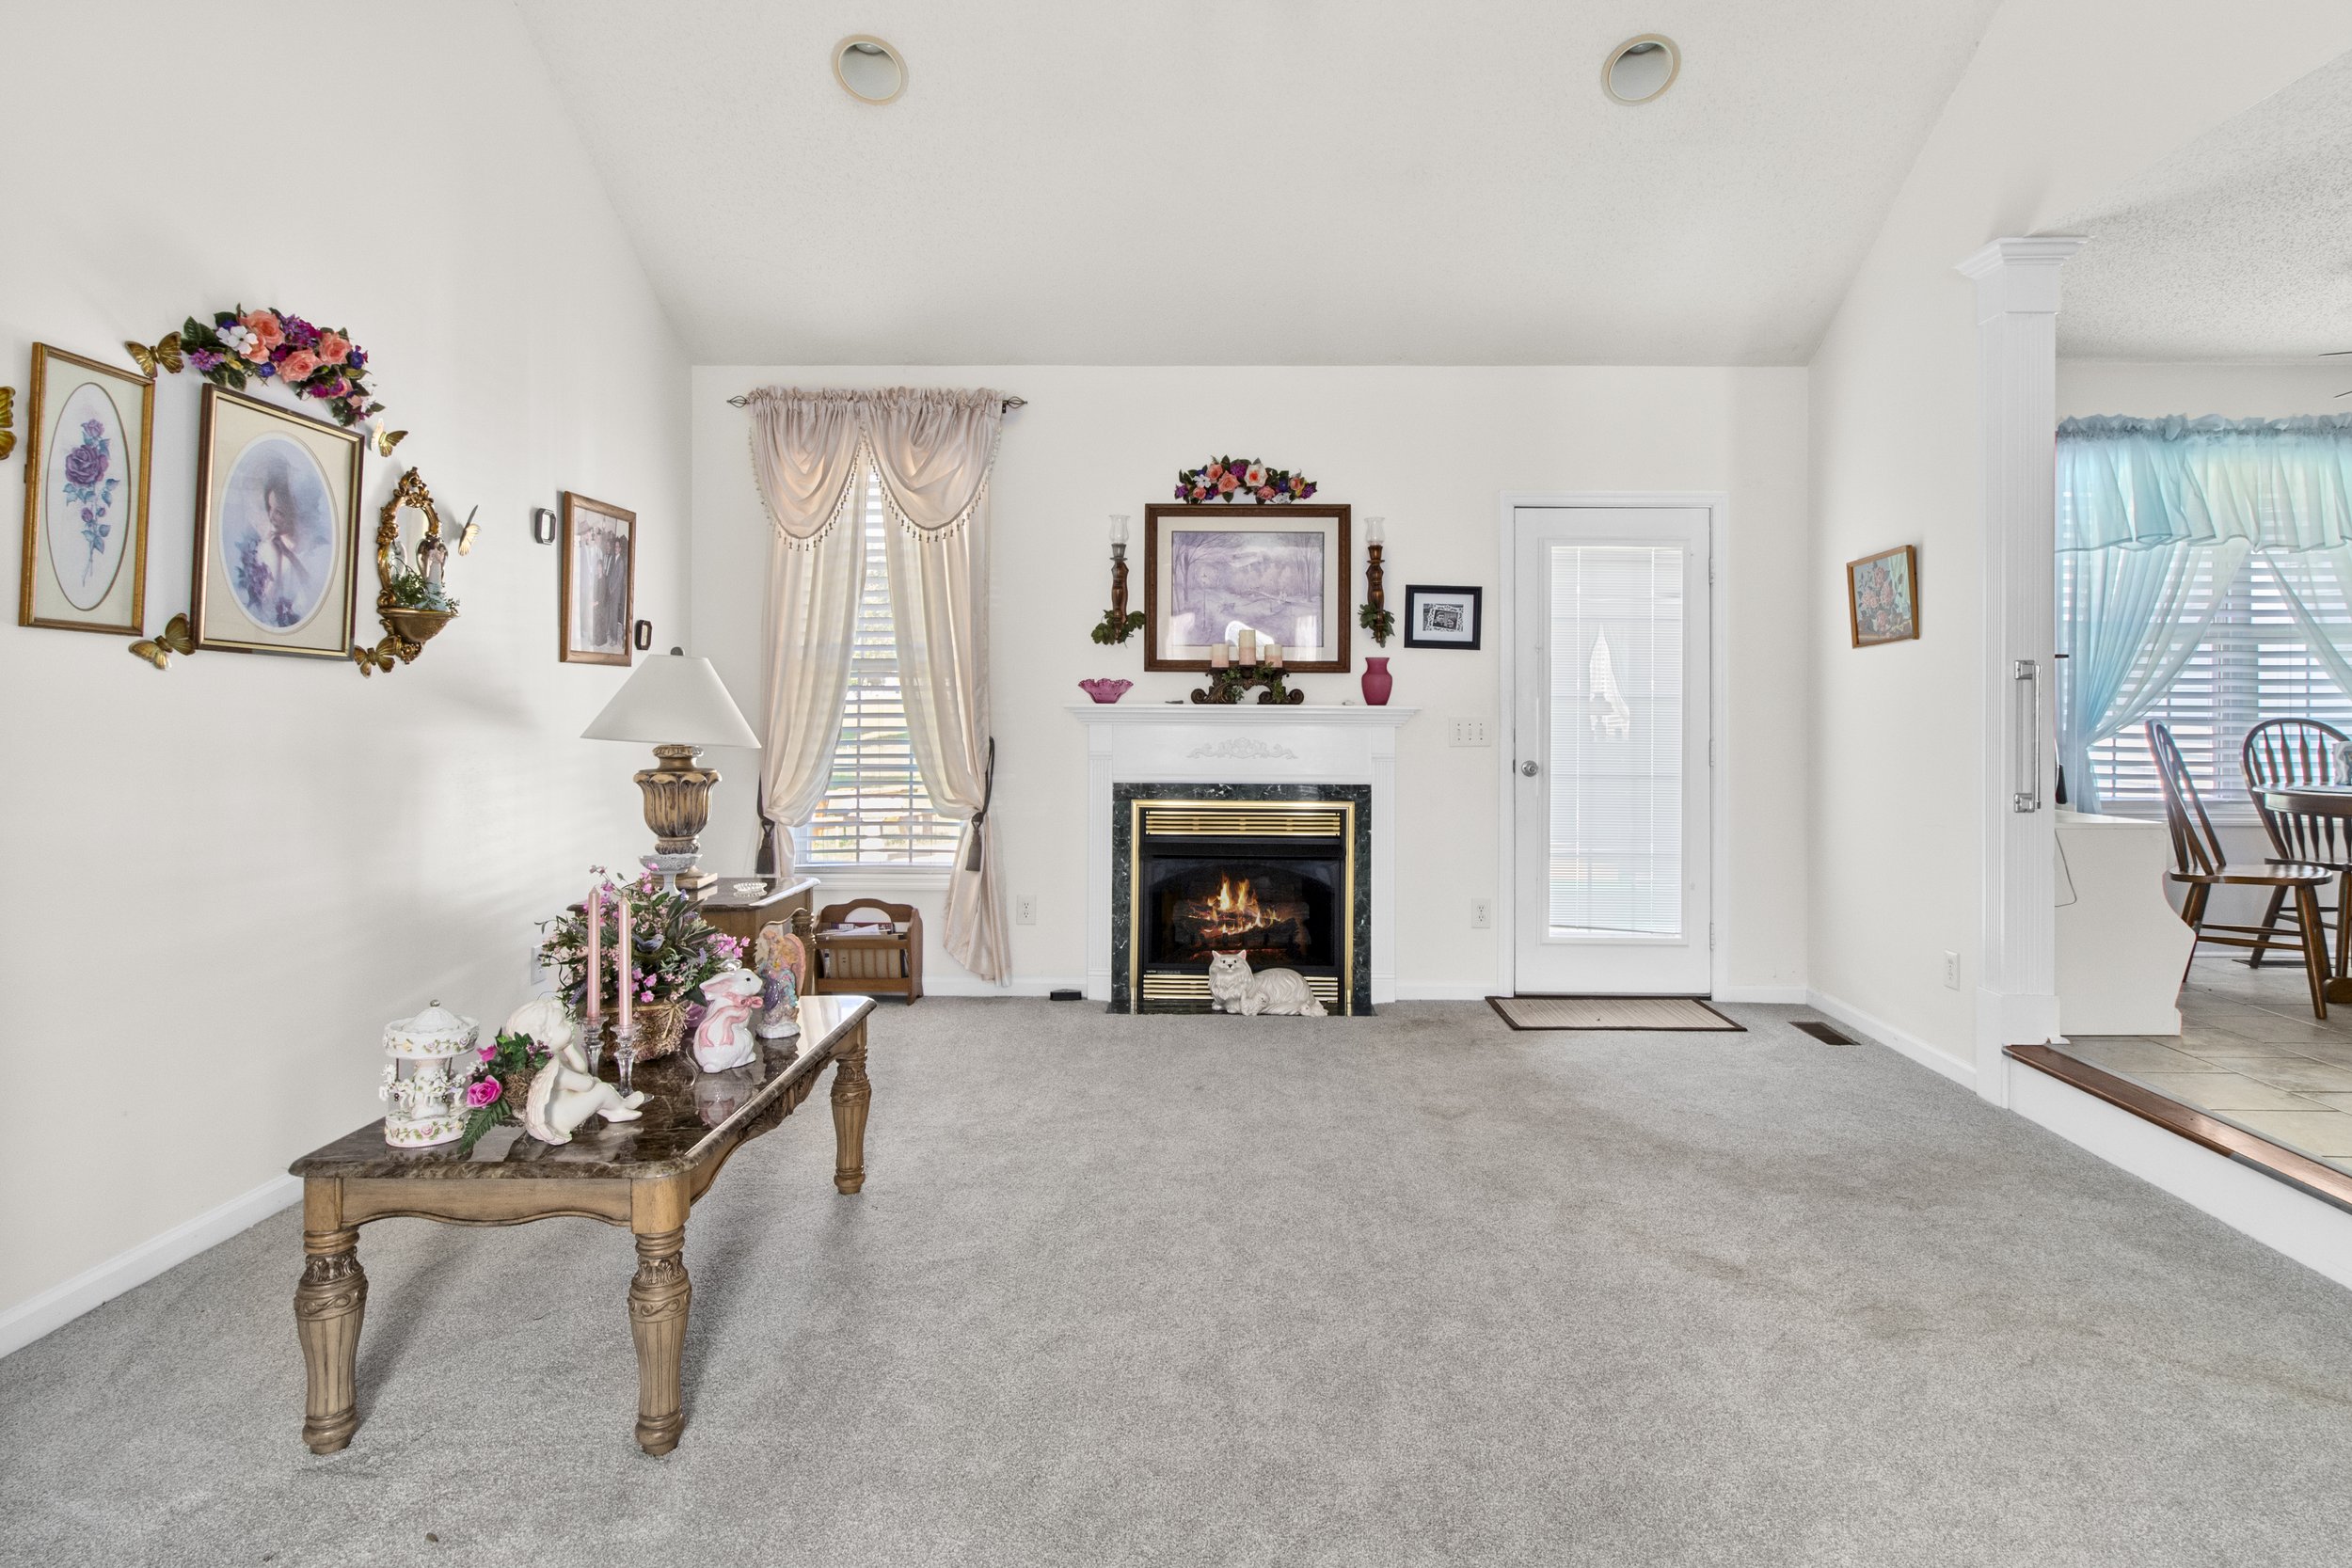
After Photos
Interior After Photos
Utilizing HDR and Manual Controls: To ensure optimal exposure and detail in real estate photography, mastering the use of High Dynamic Range (HDR) and manual controls is crucial. Most cell phones now offer HDR functionality, which combines multiple exposures to create a well-balanced image that showcases both highlights and shadows. Additionally, many smartphone camera apps provide manual controls, allowing you to adjust settings such as exposure, white balance, and focus, giving you full creative control over your shots.
Editing on the Go: Post-processing plays a vital role in enhancing real estate photographs. With the array of powerful photo editing apps available for smartphones, you can quickly transform your images into stunning masterpieces right from your device. These apps offer features like cropping, straightening, color correction, and even advanced editing tools such as selective adjustments and filters, allowing you to perfect your shots before sharing them with the world.
Tips for Success: While the camera capabilities of modern cell phones are impressive, a few tips can help you take your real estate photography to the next level. Consider investing in additional accessories like tripods or clip-on lenses to stabilize your shots or achieve specific effects. Take advantage of natural light whenever possible, as it can greatly enhance the overall atmosphere and appeal of a property. Lastly, pay attention to composition, framing, and angles to capture the unique aspects and selling points of each property.
Gone are the days when you needed professional camera equipment to capture stunning real estate photographs.
With the convenience, accessibility, and remarkable camera technology of modern smartphones, you can now unlock your creative potential and produce captivating images right from your pocket.
Embrace the power of your cell phone, experiment with different techniques and apps, and discover the exciting world of real estate photography awaiting your artistic eye.
Checklist for using a cell phone for real estate photography:
Before the shoot
Charge your phone and bring a backup battery.
Download a real estate photography app.
Purchase a wide-angle lens attachment.
Clean the lens of your phone.
Arrange the furniture in the space to create a more open and inviting feel.
Remove any personal items from the space.
Open all the curtains and blinds to let in as much natural light as possible.
**Turn off all the lights in the space.
During the shoot
Start by taking a wide-angle shot of the entire space.
Then, move in closer and take shots of each room in detail.
Be sure to capture all the important features of the property, such as the kitchen, bathroom, and bedrooms.
Use natural light whenever possible.
If you need to use artificial light, use a diffused light source to avoid harsh shadows.
Take multiple shots of each scene to ensure that you get the best possible results.
After the shoot
Review your photos and delete any that are blurry or out of focus.
Edit your photos to improve the color, contrast, and brightness.
Crop your photos to remove any unnecessary elements.
**Upload your photos to a real estate website or social media platform.
Here are some additional tips for taking great real estate photos with your cell phone:
Use a tripod to keep your phone steady.
Point your phone at the ceiling and take a shot of the light coming through the windows.
Use a mirror to reflect light into dark corners.
Take advantage of HDR mode to capture more detail in your photos.
Use a photo editing app to improve the color and contrast of your photos.
With a little practice, you can use your cell phone to take great real estate photos that will help your clients sell their homes quickly and for top dollar.


